I recently had to collaborate on a project which involved writing a boring report with Microsoft Word. The experience made me realize—or rather reminded me how little most people know how to use it. I thought I’d share with you a few tips to make you much more efficient with Microsoft Word.
This article was written using Microsoft Word for Office 365 MSO (16.0.11629.20192) 32-bit. UI changes in further updates may not be accurately reflected.
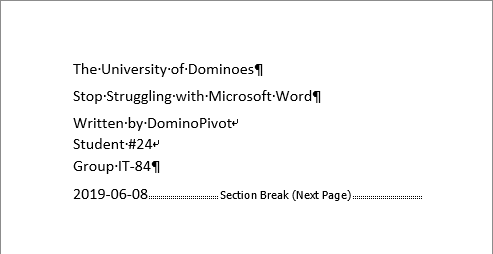
A common requirement for university papers is a title page with blocks of information that need to be distributed vertically. Most people simply add and remove blank lines until the content fills the page. Surely there should be a smarter way to do this.
To create a title page, first write all the information you want using a combination of paragraphs and line breaks. A line break is inserted with Shift+Enter and skips to the next line without causing a paragraph change. The unused vertical space will be distributed between paragraphs, so insert a line break where you don’t want any vertical spacing.
 An unformatted title page.
 A vertically-distributed title page.
You can display breaks and other invisible formatting marks using Home > Paragraph > ¶. Paragraphs will be represented with ¶ and line breaks with ↵.
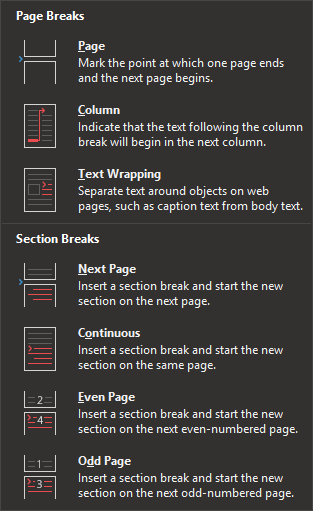
The next thing you’ll want to do is add a Section Break at the end of your last line of text. Each section in a Word document can have its own headers and footers, page size and orientation, number of columns, margins and more. People who are unaware of such a feature will likely split their work into multiple files when there is no need to.
You can find Section Breaks in Layout > Page setup > Breaks. I recommend adding a shortcut to this in the Quick Access toolbar. The type of section break will determine where the next section begins.
 The Breaks menu.
 The Page Setup button.
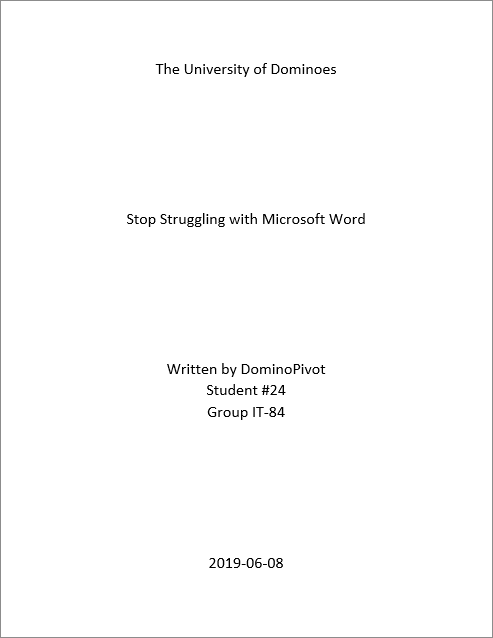
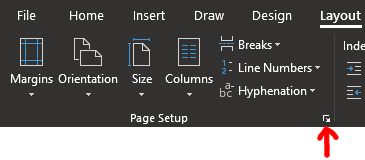
Once you’ve added a Section Break, you can set the first section to distribute its content vertically. With the cursor within the title page, open up the Layout > Page Setup dialog by clicking on the tiny icon in the corner of the category.
In the window that opens, go to the Layout tab and select Vertical alignment: Justified. Apply the changes and you will see the paragraphs evenly distributed on the page. Now center them horizontally and you’re done!
A vertically-distributed title page.
A lot of my peers seem to think that fiddling with formatting in a Word document is annoying and a waste of time. That’s because they don’t know how to use Styles.
Styles are practical because they let you focus on the content first. When you want to add a section title, you simply click on the Heading 1 Style and write a title. When you want to make a long quote, you use the Quote Style. You don’t have to worry about fonts, line spacing and colors while you’re writing.
When you’re ready to change the look of your document, you can modify the format of the Styles you’ve used. Here I got rid of the default blue color for titles, added a background to the Heading 1 Style and I made the Heading 2 use small caps.
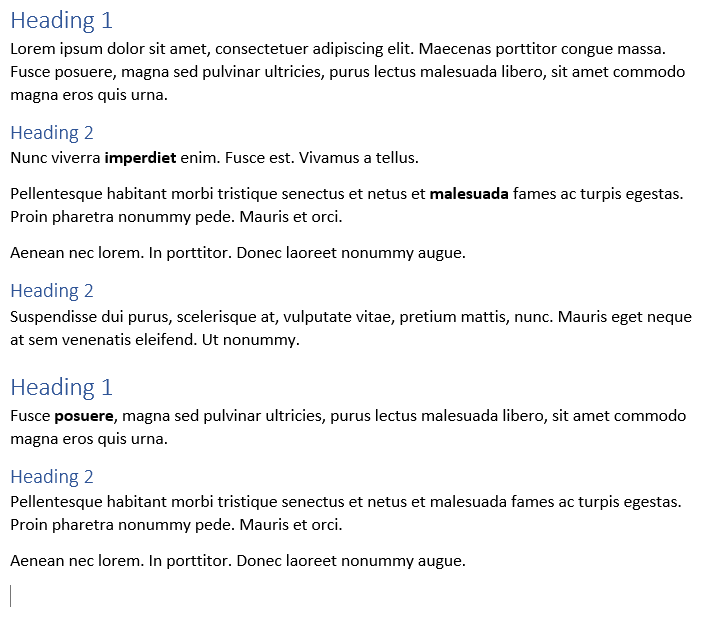 A document using the default heading Styles.
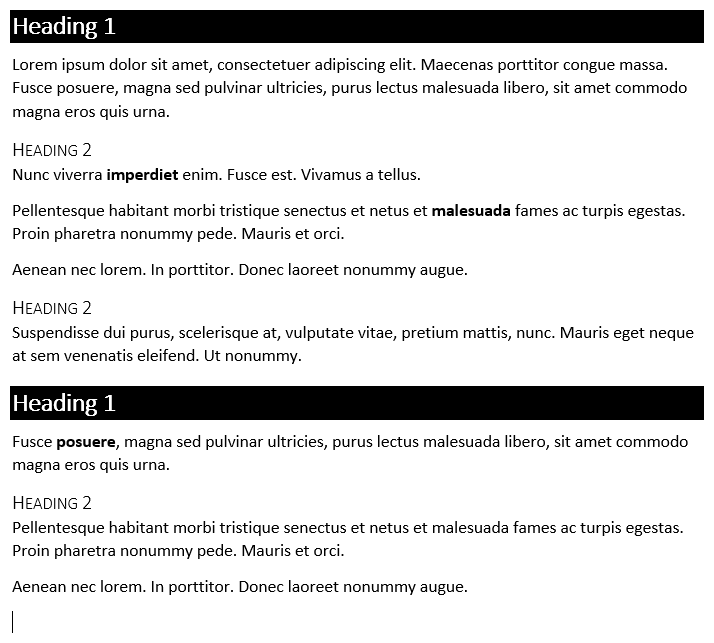 The same document with modified Styles.
A Style can be applied to a whole paragraph or to a range of characters. To apply a Style to a paragraph, simply click anywhere within that paragraph and then select the Style in the Styles menu. To use a Style only for a phrase, select that phrase before applying the Style.
Styles that are applied to text spans are called Character Styles, while those that only make sense to apply to an entire paragraph are called Paragraph Styles. There are also Linked Styles which can be applied to either whole paragraphs or text spans, such as Heading 1 and Quote.
Character Styles have priority over Paragraph Styles. For example, say you have a Style that makes a whole paragraph blue and bold. You could select a phrase within that paragraph and give it a Character Style that makes the text red. The Character Style is used on top of the Paragraph Style, overwriting any conflicting options. In our example, this would result in a bold red phrase within a bold blue paragraph. Finally, any formatting option manually applied on selected text, which I call inline formatting, has priority over Styles. It is almost always a better idea to create a new Style than to use inline formatting.
To modify a Style, right click on its definition in the Styles menu and select Modify. The window that opens will let you change the basics, but you can also click on the Format button in the corner of that window for more options. You can also create your own Styles.
By default, changes you make to Styles only apply in the current document. You can also check a box at the bottom of the Style modification window to apply the changes to future documents. However, I’d recommend leaving that option alone and instead creating a document template if you want to reuse customized Styles.
To make it easier to replace the fonts used in a document, the default Styles are built using two special font variables: +Heading and +Body. To change these, go in the Design ribbon tab, then open the Fonts menu. You can pick a popular combination of fonts from the list or click Custom to select your own two fonts.
Fonts with lots of curves like Garamond or serifs like Times New Roman work great on paper but are harder to read on a screen at low resolutions. This is why the default font in Microsoft Word was changed to Calibri in 2007. Think of this before choosing a set of fonts. You can always change back to a fancier font before publishing or printing.
NEVER use Comic Sans MS or Papyrus in your documents. These fonts have a very bad reputation, and will make your work look unprofessional. Even if you’re just writing a birthday card. Even if you want it to look friendly. If you like the look of Comic Sans MS, I suggest you use Comic Neue instead, which looks less goofy.
Note that if you open a Word document on a computer without the font installed, the text will be displayed in another font. You can produce PDF documents with bundled fonts, but only if the license for that font allows it.
I’d love to talk a bout rulers as well, but I’ve had this article on standby for a long time so I think it’ll have to wait for another time.